
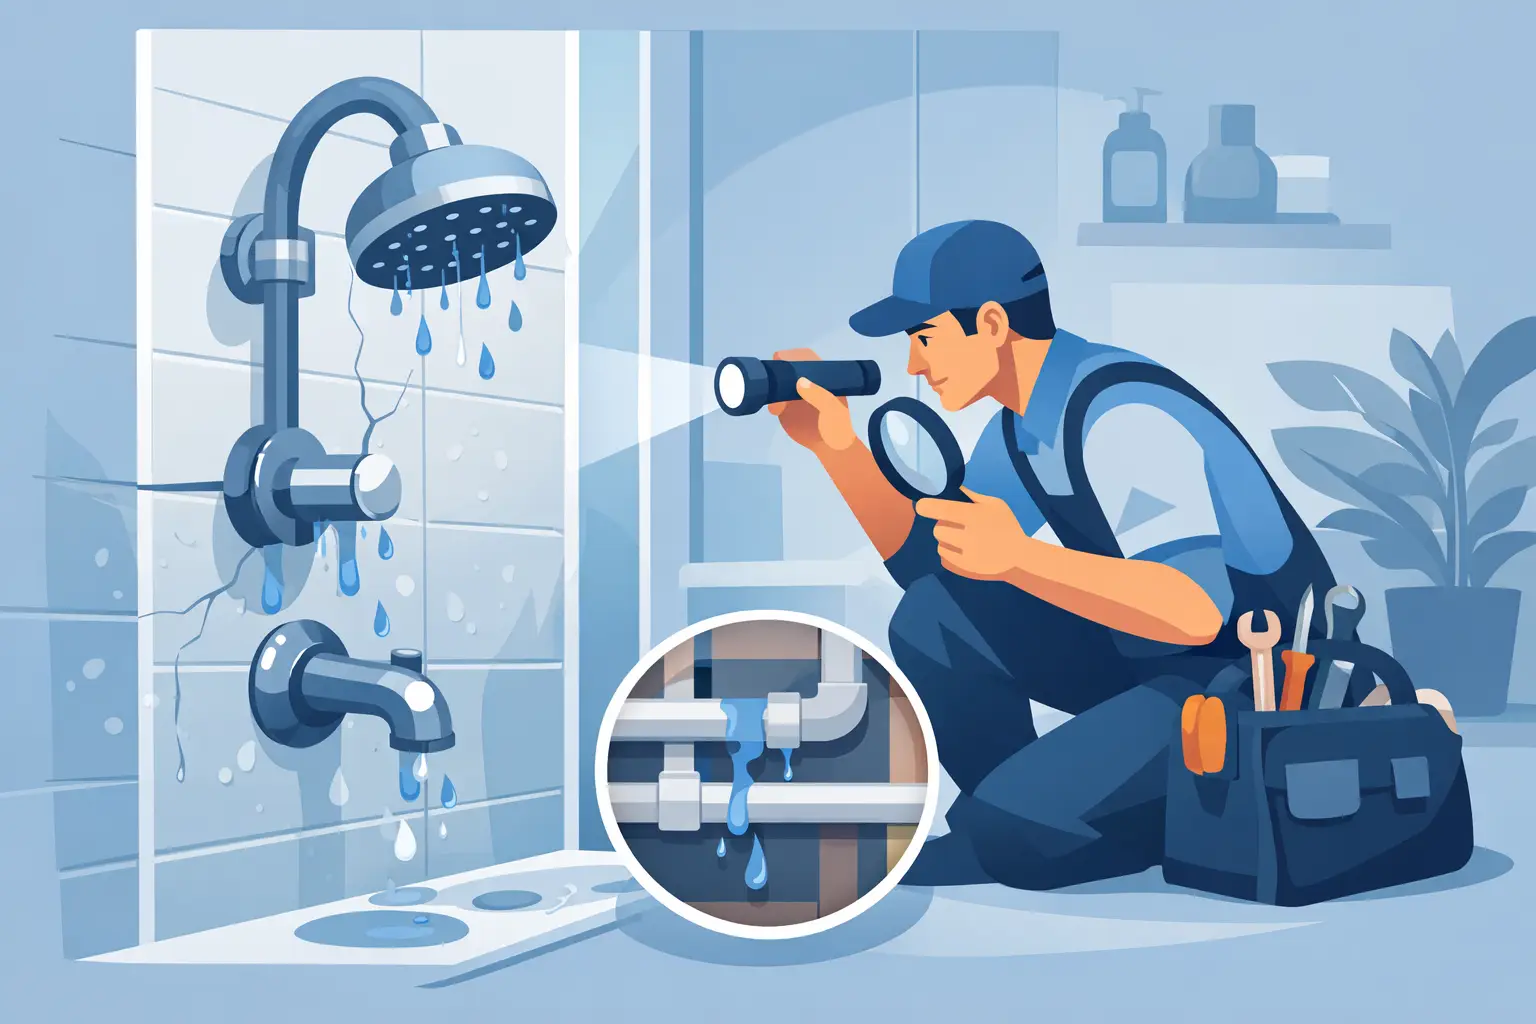
A shower that drips after use can be irritating. A shower that leaks through a ceiling, stains a wall or leaves the bathroom floor wet is a property maintenance issue that needs prompt attention. Knowing how to fix leaking shower problems starts with finding where the water is escaping, rather than immediately replacing parts or applying more sealant.
The visible puddle is not always the source of the leak. Water can travel behind tiles, beneath a shower tray or along pipework before it appears elsewhere. A careful check can help you decide whether the repair is a straightforward seal replacement or a job for a qualified plumber.
First, identify where the shower is leaking
Before taking anything apart, dry the shower area thoroughly and test one part at a time. Use the shower without anyone standing in the tray, then test it again with water directed at the wall, screen, tray edge and plughole separately. This can narrow down the cause and prevent unnecessary work.
A leak only when the shower is running often points to the shower valve, hose, head or supply pipework. If water appears when the tray is holding water or draining, the tray seal, waste fitting or drain pipe may be responsible. Water on the floor outside the enclosure is more likely to be a failed screen seal, door seal or silicone joint.
If there is staining, bubbling paint or a damp patch on the ceiling below, stop using the shower until the source is known. Continued use can damage plasterboard, timber and insulation, turning a modest repair into a larger restoration project.
How to fix a leaking shower seal
Failed silicone is one of the most common causes of leaks around shower trays and enclosures. Silicone can shrink, split, lift from the surface or develop mould that prevents a watertight bond. It is tempting to run new sealant over the old line, but this rarely lasts. The new silicone needs a clean, dry surface to adhere properly.
Remove the existing sealant carefully with a suitable scraper or sealant remover. Take care not to scratch acrylic trays, glass surrounds or tile faces. Once removed, clean away all residue, then allow the area to dry completely. Even a small amount of moisture behind the new seal can cause it to fail early.
Apply sanitary-grade silicone in one consistent bead, smoothing it before it skins over. Where a shower tray is concerned, fill the tray with water before sealing. This puts the tray under normal load and helps reduce the risk of the seal pulling away when someone later stands in it. Leave the sealant to cure for the manufacturer’s stated time before using the shower.
There is a useful distinction to make here. Silicone around the outside of the shower enclosure is usually applied to stop water escaping into the room. Internal enclosure joints are often designed to drain water back into the tray, so sealing them without understanding the enclosure design can trap water in the frame. If in doubt, check the manufacturer’s fitting instructions or ask a professional.
Check the shower screen, door and tray
A leaking enclosure is not always a silicone problem. Worn bottom door seals, damaged vertical screen seals and misaligned doors can allow spray to escape even when the tray itself is sound. Look for torn rubber, gaps at the corners and a door that does not close squarely.
Replacement seals are often available for standard shower doors and screens, but they must match the glass thickness and profile. Measure carefully before ordering. If the screen moves when pushed gently, its fixings may also need tightening or adjustment. Do not overtighten screws into tiles or frames, as this can crack tiles or damage the enclosure.
Check that the shower tray is firm underfoot. A tray that flexes or rocks can break its seal repeatedly, no matter how well the silicone is applied. This may indicate inadequate support beneath the tray, failed installation materials or movement in the floor. In this situation, resealing alone is unlikely to provide a lasting fix.
Inspect the shower hose, head and valve
If the leak occurs while the shower is in use, inspect the easy-to-reach fittings first. A split shower hose can spray water towards the wall or floor and may only leak under pressure. Look along the full length of the hose, especially near the connections, for cracks, bulging or damaged outer casing.
A loose shower head connection can often be tightened by hand. Avoid using excessive force with grips, which can damage the finish or the fitting. If a washer inside the hose connection is flattened, missing or perished, replacing it may stop a small drip.
Water leaking from behind a concealed shower valve, however, is a different matter. Signs include damp grout, loose tiles, staining on an adjoining wall or water appearing below the bathroom when the shower is running. The cartridge, connection or pipework may have failed behind the wall. Removing tiles without a clear diagnosis can create more disruption than necessary, so this is normally a job for a qualified plumbing engineer.
Check the waste, plughole and drain pipe
A shower that leaks only as it drains may have a loose waste fitting or a failed seal beneath the tray. Remove the waste cover and check for obvious debris that is slowing drainage. Hair and soap build-up can cause water to pool high enough to find a weak point around the tray or enclosure.
If the waste fitting is accessible from below, inspect for drips while someone runs the shower. A loose compression fitting or degraded washer can sometimes be repaired, but access is often limited by ceilings, boxing or flooring. Take care when tightening plastic waste fittings. They can crack if overtightened.
Slow drainage should not be ignored. It may be a simple blockage close to the plughole, but recurring blockages can point to a drainage issue further along the pipe run. Chemical drain cleaners are not always the best answer, particularly in older pipework or where a fitting is already leaking. Mechanical clearing and inspection are generally safer options.
When tiles and grout are the real issue
Grout and tiles are not the primary waterproofing layer in a properly installed shower. They help shed water, but moisture can still pass through cracked grout, damaged tile edges and failed joints over time. The waterproof membrane or tanking system behind the tiles is what protects the wall structure.
Small areas of cracked grout can be repaired once the area is dry and sound. But if tiles are loose, the wall feels soft, mould keeps returning or water damage is visible outside the shower, there may be a failure behind the tiled surface. Regrouting or resealing the face of the tiles can improve appearance, yet it will not reliably resolve a compromised backing board or failed tanking system.
This is where diagnosis matters most. A targeted repair may be possible, but some showers require sections of wall to be opened up and rebuilt correctly. It is more disruptive, although it protects the property from repeated hidden water damage.
Know when to call a plumber
A homeowner can often replace a shower hose, clean a waste or renew a straightforward silicone seal. Call a professional if the leak is coming from behind a wall, below the shower tray or through a ceiling, or if you cannot identify the source after basic testing. The same applies where the tray is moving, tiles are loose, pipework is inaccessible or electrics are close to the affected area.
For landlords and property managers, acting early is particularly worthwhile. A minor reported leak can quickly affect neighbouring rooms, tenant comfort and the condition of the building. Clear diagnosis, tidy repairs and transparent pricing help keep the disruption under control.
LCA Maintenance provides qualified plumbing support for shower leaks across Bedfordshire and surrounding areas. Whether the problem is a failed seal, waste connection or concealed pipework fault, the right repair should deal with the cause, not just hide the symptoms.
A dry ceiling and a fresh bead of silicone are reassuring, but monitor the shower for several uses after any repair. If damp marks return, stop using it and arrange an inspection before water has another chance to travel further through the property.